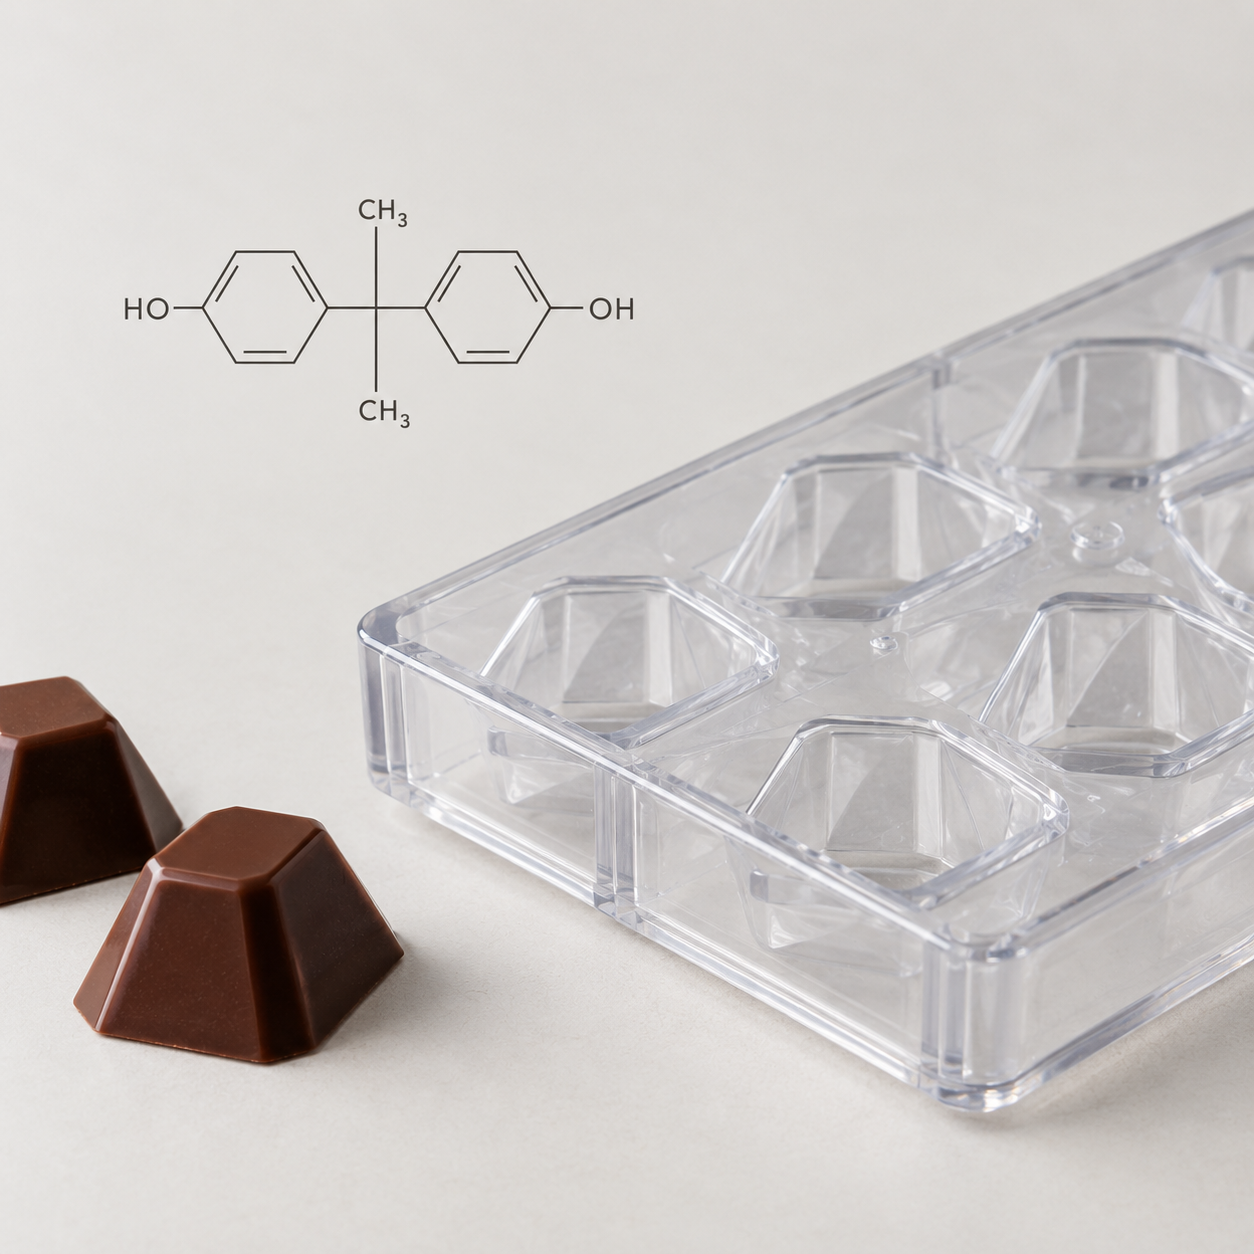
Dull shells, chocolate that sticks to your polycarbonate mould, pieces that crack the moment you turn the mould over: if any of this sounds familiar, you are not alone. Nearly every one of these problems traces back to a handful of specific causes, and most have a quick fix at the bench. This guide works like a workshop diagnosis. You start from what you see, you work back to the cause, then you apply the right correction. In practice, five things account for almost every moulding problem in polycarbonate.
Quick diagnosis: what is your chocolate telling you?
Start by matching your symptom in the table below. The look of the chocolate points straight to the cause, so you save time by going after the right fix first rather than changing everything at once.
| Symptom | Likely cause | Immediate fix |
|---|---|---|
| Chocolate sticks to the mould | Chocolate off its tempering curve, or a mould that was not cleaned | Recheck the temper, clean and dry the mould |
| Dull shells, no gloss | Poor temper or cooling that went too fast | Re-temper, then set at 16-18°C |
| White streaks or patches | Bloom (fat or sugar) | See our dedicated article on chocolate bloom |
| Shell cracks on release | Shell too thin, or unmoulding too roughly | Build a thicker shell, release gently |
| Marks and scratches on the shell | Scratched mould, or a greasy film in the cavity | Polish the mould, check its condition |
Cause 1: the chocolate is off its tempering curve
This is the number one reason for trouble in a polycarbonate mould. Chocolate that is not properly tempered never sets up the right crystal structure, so it fails to contract as it cools. That contraction is exactly what pulls the piece away from the mould wall. Without it, the chocolate clings on and snaps when you try to release it.
The tempering curve has to be followed closely. For dark chocolate, working temperature sits around 31-32°C, after a controlled cooling phase. Push it too far and the couverture over-crystallises, turning thick and refusing to pick up the fine detail of the cavity. Get it wrong the other way and you end up with dull, patchy shells. If tempering is where things fall apart for you, our guide to tempering chocolate walks through it step by step.
Cause 2: the temperature gap between mould and chocolate
Your polycarbonate mould needs to be at the right temperature before you pour. When the gap between the mould and the chocolate is too wide, crystallisation goes off track. A mould that is too cold sets the chocolate far too quickly and leaves you with dull shells. One that is too warm stops it from setting at all.
The rule of thumb is to keep the mould at workshop room temperature, within a few degrees of the tempered chocolate. Many chocolatiers warm their moulds slightly, just above room temperature, and get cleaner results for it. A mould left near a chill cabinet or a hot oven throws the whole thing off, so it pays to check where your moulds are stored before a run.
Cause 3: a shell that is too thin
A thin shell cracks on release. It flexes too easily and grabs the cavity walls. The fix is to pour enough chocolate, tap the mould firmly against the bench to knock out the air bubbles, then turn it over to drain the excess while keeping a decent wall thickness. Callebaut’s own guidance is to leave a 1 to 1.5 mm opening from the rim so the piece can be capped cleanly later.
Scraping matters just as much. Once the shell has formed, scrape the face of the mould flat with a palette knife or scraper for a clean base and an even wall. A shell with the right thickness holds its shape and comes out in one piece. As a bonus, consistent walls also mean consistent weight across a production run, which is what keeps your costing honest.
Cause 4: the mould is scratched
A scratched polycarbonate mould will not give you gloss, full stop. The shine on a finished chocolate is a straight reflection of the mould surface, so every scratch in the cavity transfers to the shell. No amount of careful tempering fixes a mould that is physically marked.
What scratches a polycarbonate mould is contact with metal or anything abrasive: knives, hard scrapers, scouring pads. To check a mould, hold a cavity up to the light and look for the fine, hazy lines that signal wear. Once those scratches are permanent, the mould will not come back to gloss, and it needs to be retired. Keeping metal tools away from the cavities is the single biggest thing you can do to make a mould last.
Cause 5: a greasy film in the cavity
An invisible greasy film in the cavity makes chocolate stick and go dull. Leftover cocoa butter or a stray fingerprint creates little patches where the chocolate grabs. A mould that has not been cleaned properly gives you dull shells that fight you on release.
The polishing routine is simple enough. Wash the mould in warm water without harsh detergent, then dry it completely. Polish each cavity with clean cotton wool or a lint-free microfibre cloth until the surface comes up perfectly bright. After that, keep your fingers out of the cavities altogether, because every touch leaves a print that shows up on the next batch. A properly polished mould is the difference between a bright shell and a cloudy one.
Mould life and cost per shell produced
A well-kept polycarbonate mould lasts for years and turns out thousands of shells. Its real cost is not the purchase price but that price spread across every shell it makes over its working life. Looked at that way, a good mould works out to a fraction of a cent per piece.
The sum that justifies replacement is straightforward. The moment a scratched mould starts producing rejects or pieces you cannot sell, the cost of that waste overtakes the cost of a new mould. Hanging on to a damaged mould to save money is usually a false economy. Keeping a simple log of mould condition helps you plan replacements before they cause a gap in production.
What about producing in silicone?
If release problems and cracking keep coming back, silicone is worth a look. Its flexibility absorbs the uneven contraction of the chocolate, which helps the piece let go even when the temper is not perfect. That makes silicone kinder on complex shapes and on variable production runs, where polycarbonate demands a flawless temper every time.
The finish is a touch more satin than polycarbonate, but it suits filled, ganached or relief pieces perfectly well, where a mirror gloss is not the deciding factor. So the choice really comes down to your priority: maximum gloss on a tightly controlled temper, or fewer breakages across mixed production. Our guide comparing the two, professional chocolate mould, digs into the detail.
Maé Innovation manufactures professional silicone chocolate moulds in France, in food-grade premium silicone. For high-cadence production where breakage gets expensive, they offer a flexible, hard-wearing alternative.
- Flexible release: cuts breakage on complex shapes
- Premium silicone: food-grade, made in France
- Built for volume: designed for intensive production
- Bespoke moulds available to your brief