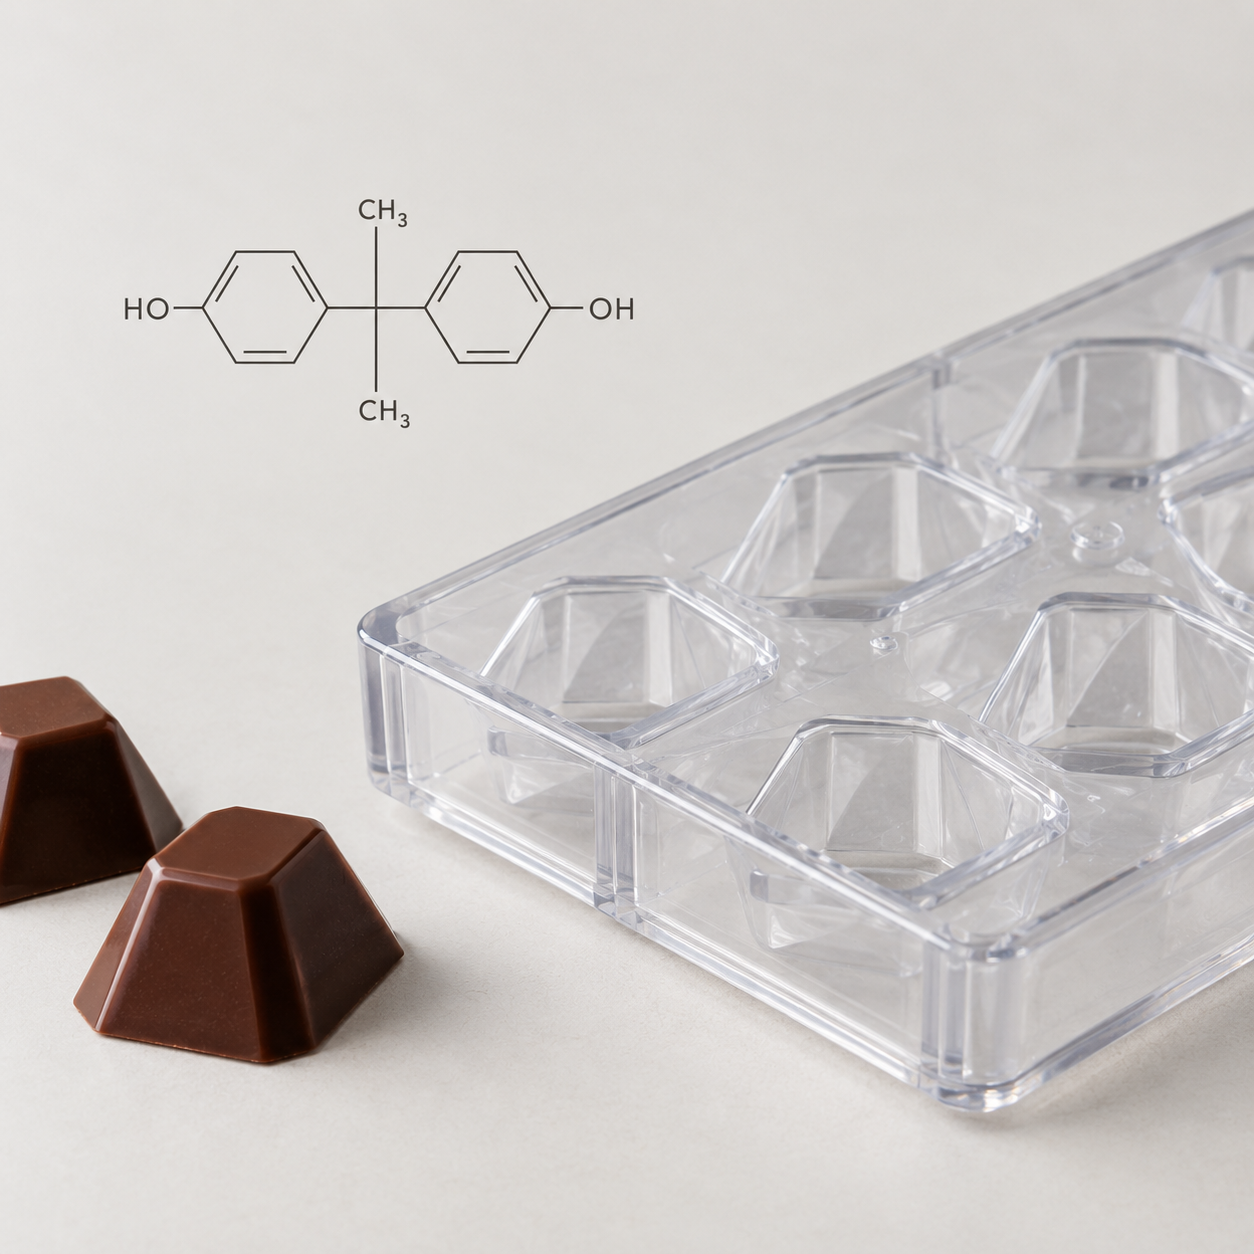
Moving from producing a few small boxes to a proper production run of filled chocolate sweets changes everything: the production rate, consistency and cost per unit. Indeed, what works when done by hand can quickly go wrong in mass production if the shell, the filling and the sealing aren’t properly controlled. This guide covers the essentials for scaling up production without compromising on quality: the manufacturing stages, calculating the chocolate requirements, organising the production rate and choosing the mould.
What is a filled chocolate?
A filled chocolate sweet is a confection consisting of a chocolate shell and a filling. In practical terms, the chocolate forms the outer shell and accounts for at least a quarter of the sweet’s total weight. The filling, meanwhile, provides the texture and flavour: ganache, praline, caramel or fruit paste.
There are three distinct categories. Firstly, the moulded filled chocolate, where the shell is poured into a mould, then filled and sealed. Next, the coated chocolate, where a pre-cut piece of ganache is dipped in chocolate. Finally, there is the ‘one-shot’ technique, which deposits both the shell and the filling in a single step, and is reserved for highly equipped production lines. This guide therefore focuses on moulded filled sweets, which are the most common in workshops and small and medium-sized enterprises.
The steps involved in making a filled chocolate sweet
The production of a filled chocolate sweet involves four specific steps. Each step determines the next: a faulty shell compromises the filling, whilst an incorrectly measured filling prevents the sweet from closing properly.
The shell: pour, tap, turn over, scrape
The tempered chocolate is poured into the mould cavities, then the mould is tapped to remove any air bubbles. Next, the mould is turned upside down to drain off the excess: only a thin layer remains on the sides – this is the shell. Finally, scrape the surface to create a clean base. In practice, if the shell is too thin, it will stick and break when removed from the mould; in this case, apply two or three layers. Furthermore, chocolate that is too runny will cause the shell to crack, whilst over-crystallised chocolate will make it too thick.
The filling: filling, ratio, 2 mm from the edge
Once the shell has set, pipe in the filling. The golden rule is to stop 1 to 2 mm from the edge. Too much filling makes it impossible to seal the shell; too little creates an air bubble which reduces shelf life. Furthermore, the filling must not exceed 28°C, otherwise it will melt the shell. After filling, leave to set in a cool place before sealing. For more information on recipes and ratios, see our guide on optimising the production of pralines and filled sweets.
Sealing: filling, flat base, production line assembly
The filling seals the sweet with a layer of tempered chocolate. In practice, the space left beneath the rim is filled, the chocolate is tapped to bring any air bubbles to the surface, and then scraped to create a perfectly flat base. A clean base ensures a stable sweet that stands upright and can be neatly packaged in batches. Furthermore, a clean seal fuses the shell and the filling together without any rough edges.
Removing from the mould: shrinkage, tell-tale sign, flexibility of the mould
Removing the chocolate from the mould is successful when it has shrunk as it crystallises. This shrinkage causes the piece to come away from the sides of the mould: this is the tell-tale sign that it is ready. In practice, with a well-chosen mould, the sweet falls out effortlessly when the tray is turned over. Consequently, the flexibility of a silicone mould makes this process easier, particularly with complex shapes where a rigid shell would resist release.
How much chocolate is needed to fill a chocolate mould?
This question comes up every time we work out the cost. In practice, the chocolate in a chocolate sweet is divided between the shell and the filling, with the remainder being the centre. Chocolate accounts for at least 25 per cent of the total weight of the sweet, often 30 to 40 per cent depending on the desired shell thickness.
In practical terms, to estimate consumption, the actual amount of chocolate used on a test tray is weighed, then divided by the number of mould cavities. This provides a reliable weight per sweet, which forms the basis for any profitability calculation. Furthermore, the main cause of over-consumption is an overly thick shell and excess chocolate that has not been properly drained off: regular scraping minimises waste when producing large volumes.
How can the production cycle for filled chocolate sweets be organised?
Industrial production is based on changing moulds. Whilst one batch is crystallising, the next is already being poured: this means that a sufficient number of mould sets are required to avoid any waiting times. In this way, the mould never becomes a bottleneck on the production line.
In practice, cooling is often the real bottleneck. A cooling tunnel or a refrigerator with a controlled temperature between 14 and 18 °C accelerates crystallisation without causing a temperature shock. This allows the coating, filling, sealing and demoulding to be sequenced in a smooth, continuous flow. It also makes it possible to identify the slowest stage – often filling with the piping bag – and prioritise speeding it up to maintain the pace.
Which mould should you choose to industrialise the production of filled sweets?
Two materials dominate. Polycarbonate provides a beautiful sheen and shrinks slowly, which makes it easier to demould classic shapes when the tempering is controlled. Flexible silicone allows complex shapes and reliefs to be released without breaking and is more forgiving of minor deviations in tempering. The choice therefore depends on your moulds, your production rate and your finishing process.
In practical terms, for chocolate sweet production at varying rates, silicone is a valuable ally: it minimises breakage and speeds up demoulding during repeated runs. To compare the two materials in detail, see our guide on the professional chocolate mould.
Maé Innovation manufactures a range of silicone moulds in France specifically designed for confectionery and sweets. Indeed, the premium Silmaé silicone is designed for intensive production, with a smooth release that protects each piece. As a result, it is equally suitable for artisans and SMEs looking to increase their production rate.
- Easy release: minimises breakage of filled sweets
- Premium silicone: food-grade, made in France
- High-volume production: designed for mass production
- Bespoke: create your own signature sweet shape